MWII DRC ZONE 1 Map Intel
DRC Zone 1 – Classified
Prepare yourselves, soldiers! The latest addition to the battlegrounds in Call of Duty: Modern Warfare II Season 05 Reloaded is the enigmatic DRC Zone 1. In this article, we will delve into the map’s intricacies, strategies, and offer some top-notch tips to dominate this 6v6 Multiplayer arena.
The Mission: Classified Territory
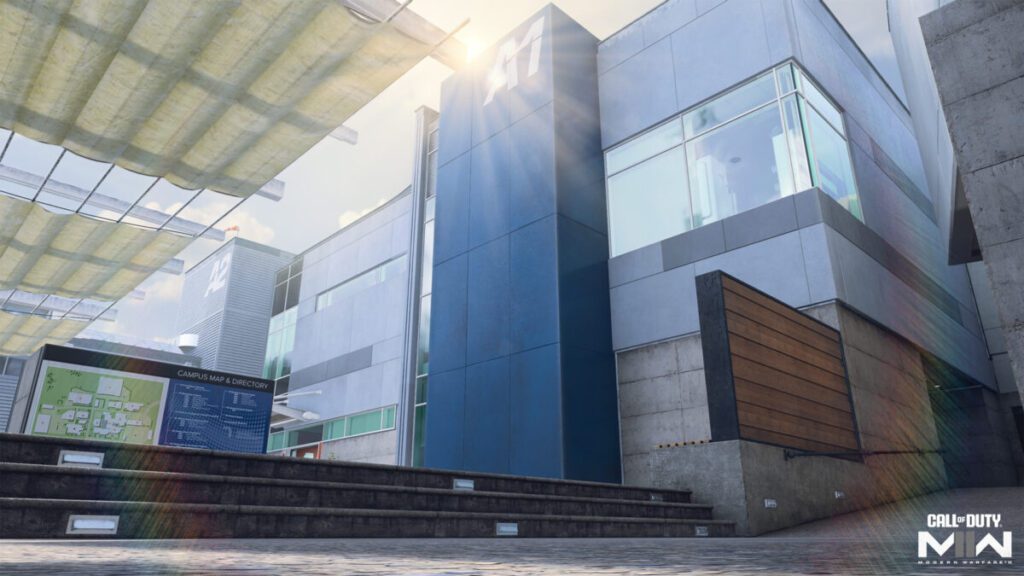
Welcome to the Defense Research Center Zone 1, a clandestine research facility that delves into cutting-edge projects encompassing bioscience, artificial intelligence[[, and advanced computer processing. As the location remains classified, Operators must focus their attention solely on the campus itself.
Zone 1 represents only a fraction of this vast research complex. Navigate through the buildings dedicated to Research & Development, Labs, and the Lobby, all surrounding the central Courtyard and Patio. Except for R&D, the interior spaces are tight, setting the stage for intense close-quarters combat throughout the map.
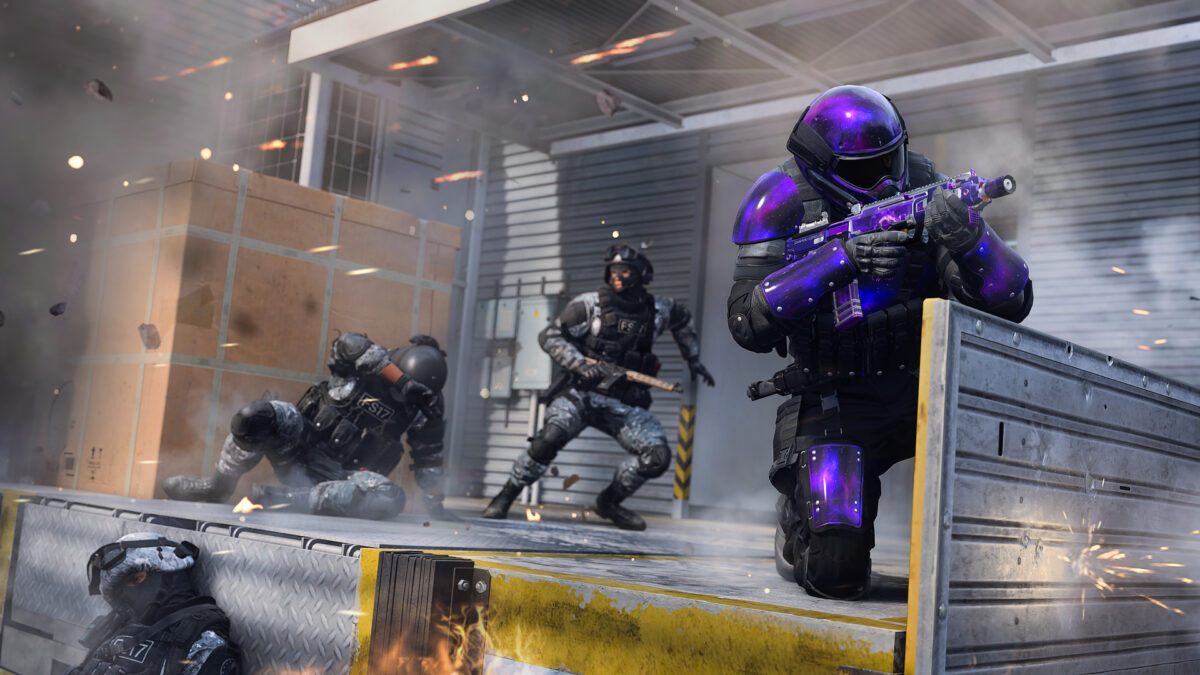
Ladies and gentlemen, this is DRC Zone 1, a brand new 6v6 Core Multiplayer map making its debut in Season 05 Reloaded of Call of Duty®: Modern Warfare® II.
Spawn Point: Kortac
KorTac Spawn Zone (South) — Loading Area
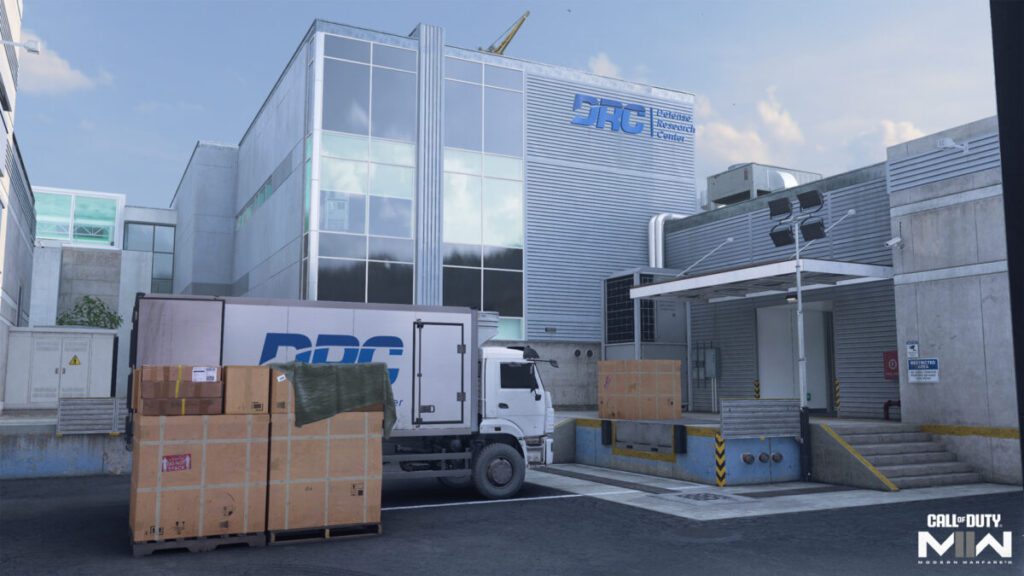
In Zone 1’s confined quarters, time is of the essence, and a strong start can set the tone for the entire match. You can either head straight to the Courtyard for immediate action or set up in R&D to pick off incoming adversaries. For a more cautious approach, consider the Warehouse route with fewer entry points and a protected boundary leading to the Parking Lot.
Spawn Point: SpecGru
SpecGru Spawn Zone (North) — Parking Lot
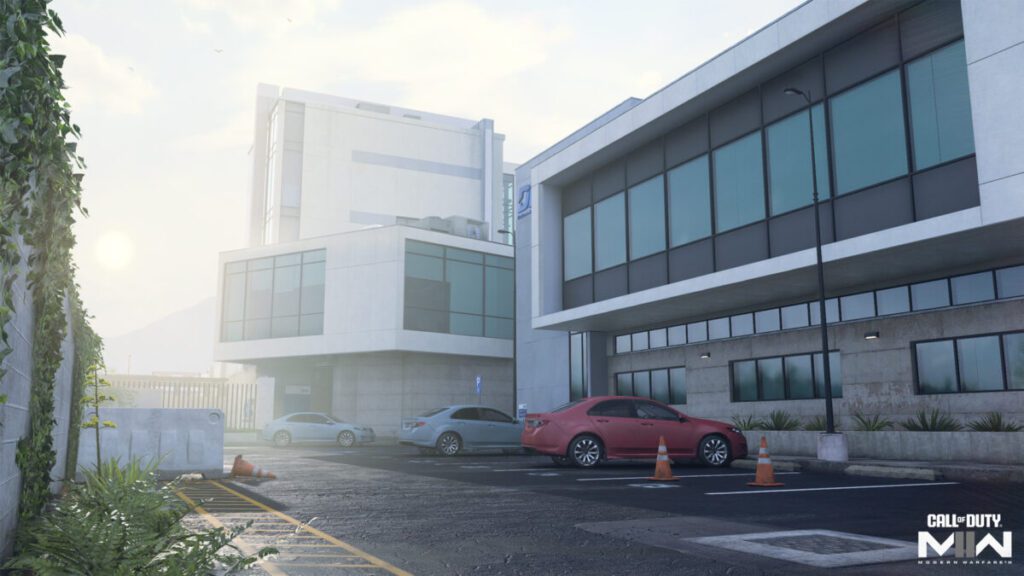
The Parking Lot offers more space than the Loading Area, making it a haven for players with long-ranged Loadouts. For a bold offensive strategy, dash through the Lobby and Labs into the Courtyard, where close-quarters combat thrives. To maintain better control, take the Service Access ramp to reach the Patio.
Map Maneuvers: Route Planning
To make navigation more manageable, we’ve divided DRC Zone 1 into five primary sections:
- Parking Lot: The largest outdoor space on the map, perfect for players with long-ranged Loadouts to gain an advantage. Ensure you have a teammate to cover the three entrances, creating a formidable defense. Keep an eye on the sky for any overhead threats.
- Lobby and Labs: Linking the Parking Lot and Courtyard, this area is tailor-made for short-ranged combat. Even the central Lobby path is treacherous, with obstacles blocking views and pushing Operators towards the room’s sides. Use the branching paths to maneuver and outwit your foes.
- Courtyard and Patio: The epicenter of the map, where most confrontations occur. With various routes leading into the Courtyard from Lobby, Labs, R&D, and the Patio, it’s crucial to tread carefully and be ready for instant engagement. Use the Patio’s relative safety to traverse the map and set up flanking maneuvers.
- Research and Development (R&D): The largest indoor space on the map with unique features. Enter the Vents in the northeast corner for elevated views in and out of the building. Crash through the north window by climbing onto the nearby air-conditioning unit. Midranged Loadouts perform exceptionally well here.
- Loading Area: Both the Loading Area and Warehouse provide substantial cover objects. Utilize them for ambushes or climb on top to gain the high ground. The Warehouse offers overhead cover in a discreet location, while the Loading Area connects with multiple sections. Choose between them based on the current threat.
Objective Routes and Rotations
Mode Intel: Domination
Domination flags are strategically placed in the middle of the map. Flag A resides in R&D, Flag B is on the Patio, and Flag C is in the Courtyard. On this compact map, the flags are likely to change hands frequently. The key is to hold at least two flags throughout the match. Stay flexible and seize opportunities to capture flags.
Mode Intel: Search & Destroy
Both bomb sites have their advantages. Starting in the Parking Lot, attackers can push through the Service Access ramp towards A or move through the Courtyard towards B in R&D. Given the map’s size, pursuing an elimination win is also a viable strategy. The enemy is never far away.
Mode Intel: Hardpoint
Hardpoint initiates with a rush to the central Courtyard for the first objective. Get in quickly and watch for incoming enemies from all sides. After that, the Hardpoint moves to the Parking Lot and then down to the Loading Area. Although these areas are less chaotic than the center, early rotation remains crucial.1
The final two Hardpoints appear in the R&D building and ultimately on the Patio. Adjust your Loadout when transitioning between these areas, with the Patio favoring longer-ranged engagements compared to R&D. Keep your streaks ready for strategic use, either when pushing into a new Hardpoint or dislodging entrenched enemies.
Top Tips
- Keep Your Sights Up: DRC Zone 1 offers little downtime between engagements. Avoid sprinting around corners unless you’re certain they’re clear. Keep your sights up and be prepared for unexpected confrontations.
- Utilize the Vents: Suspect an enemy in the Vents? Toss a grenade inside while passing by; you’ll likely get a hitmarker if there’s an occupant. Alternatively, climb up and exploit the sightlines for yourself.
- Use Side Passages: The narrow passages in the Lobby and Labs each have an indented space to the side. Employ these for added protection, focusing on covering one entrance while minimizing your exposure.
- Mind Aerial Streaks: Approximately half the map provides overhead cover, so exercise caution when calling in aerial streaks. These are most effective in objective modes when open areas like the Parking Lot and Loading Area see high activity.
- Climb on Cover: Many mid-sized cover objects across the map are climbable. Use this to your advantage for elevated vantage points against incoming foes. Reserve this tactic for when you know the enemy’s location, and make a quick descent after securing the elimination.
- Defend Strategically: Despite the map’s size, there are opportunities to defend an area effectively. Sites like R&D, Patio, Lobby, and Courtyard can be guarded by a single vigilant Operator. Choose a location, lock it down, and confound the enemy.
- Prioritize Initiative: On small maps like this, seizing the initiative is crucial. Consider using the Dead Silence Field Upgrade to muffle your footsteps during critical plays. You’ll have plenty of chances to score gun and melee eliminations to refresh its duration.
- Choose Your Grenade: Depending on your playstyle, you might prefer obscuring the enemy’s view or enhancing your own. If distraction is your strategy, employ a Smoke Grenade for navigating risky passages. If intelligence gathering is paramount, opt for a Snapshot Grenade to tag enemy positions for the entire team.
- Courtyard Dash: When crossing the Courtyard with minimal exposure, utilize Tactical Sprint. Sprint between the narrow passage in the Lobby and the northern window of R&D, accessible via climbable objects on either side.
- Offensive Defense: While aggressive movement through the map keeps the enemy guessing, there are times when consolidating and defending a critical area is advantageous, especially in objective modes. Coordinate with your teammates to establish solid defensive positions when necessary. After all, this is the Defense Research Center; security is paramount.
In this classified territory of DRC Zone 1, your skills and tactics will be put to the test. With these strategies and tips in your arsenal, you’re better equipped to conquer the challenges of this intense battlefield. Good luck, soldiers, and may victory be yours in Call of Duty: Modern Warfare II Season 05 Reloaded! Interested in More Call of Duty tricks, tips or news? Check out our Call Of Duty section.
Tags
Roisin
Roisin is a lead editor and gaming enthusiast, bringing you the latest news and deep dives into the gaming world.
View all posts